
Electrical Circuits
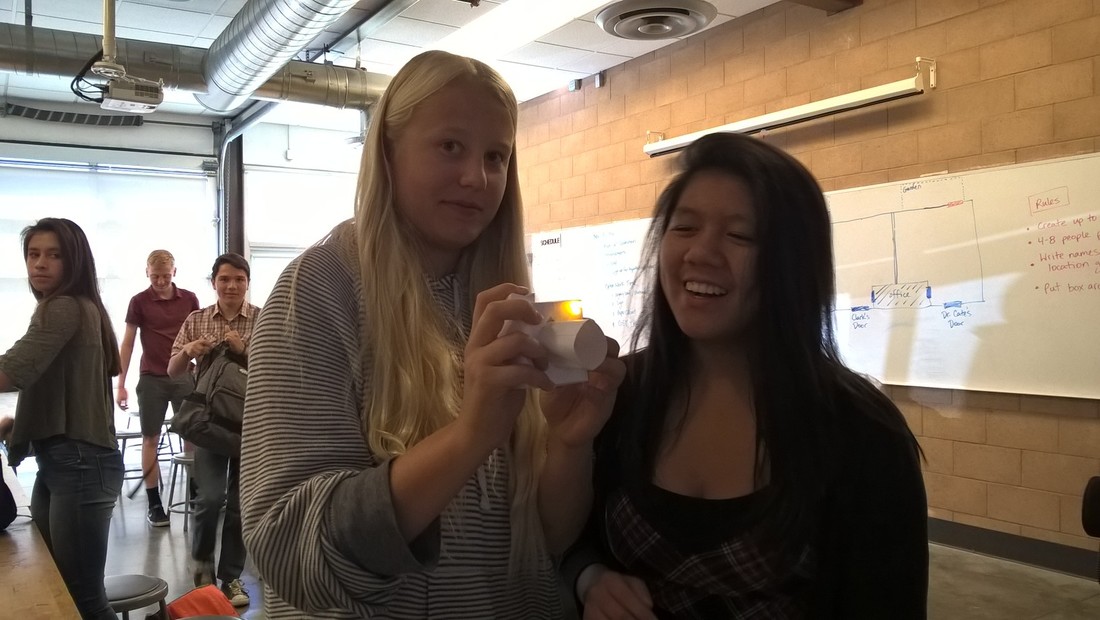
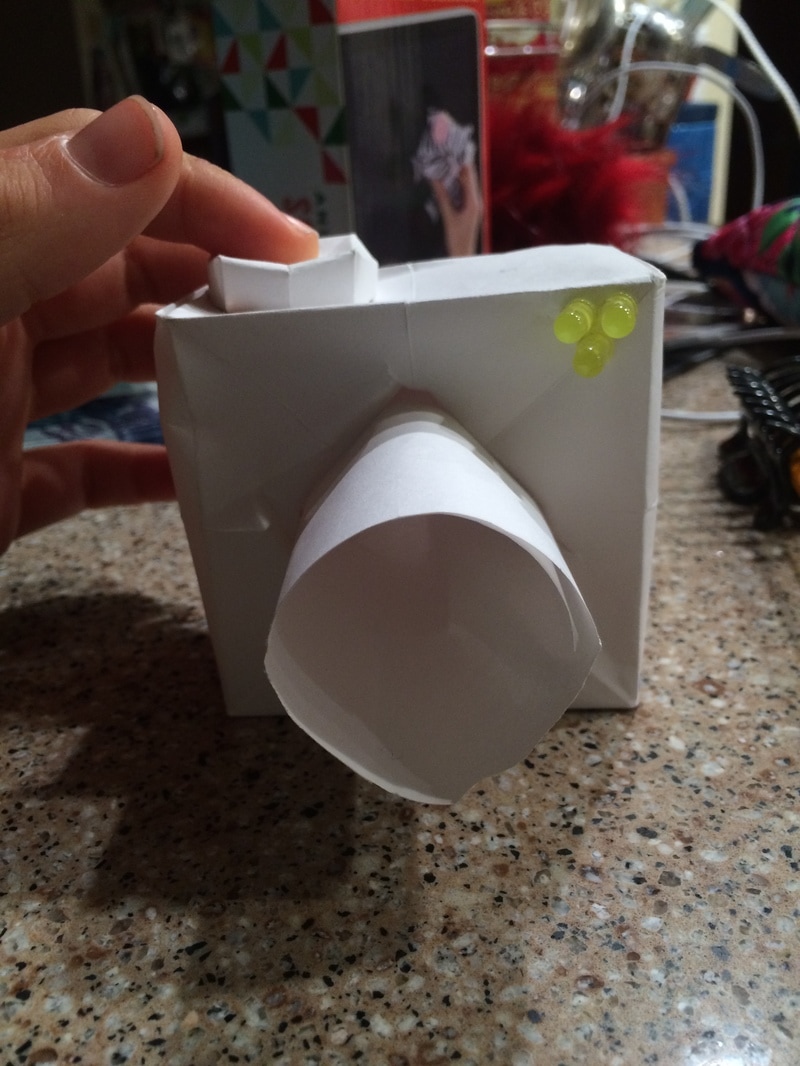
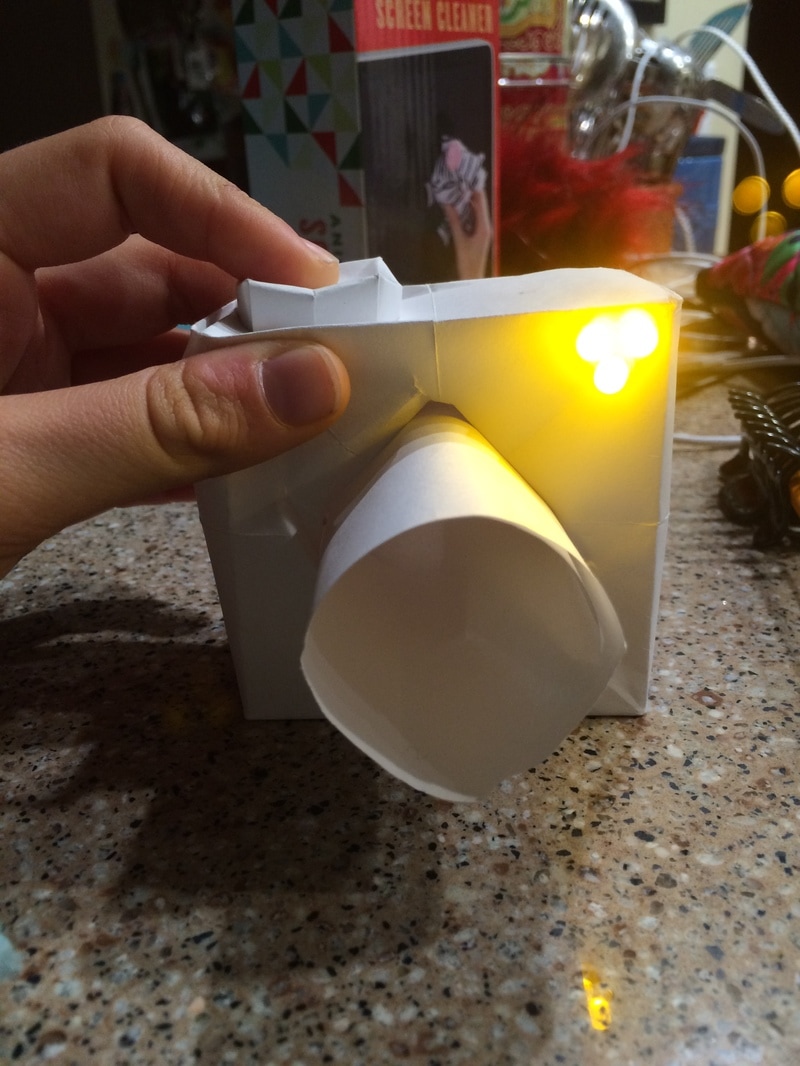
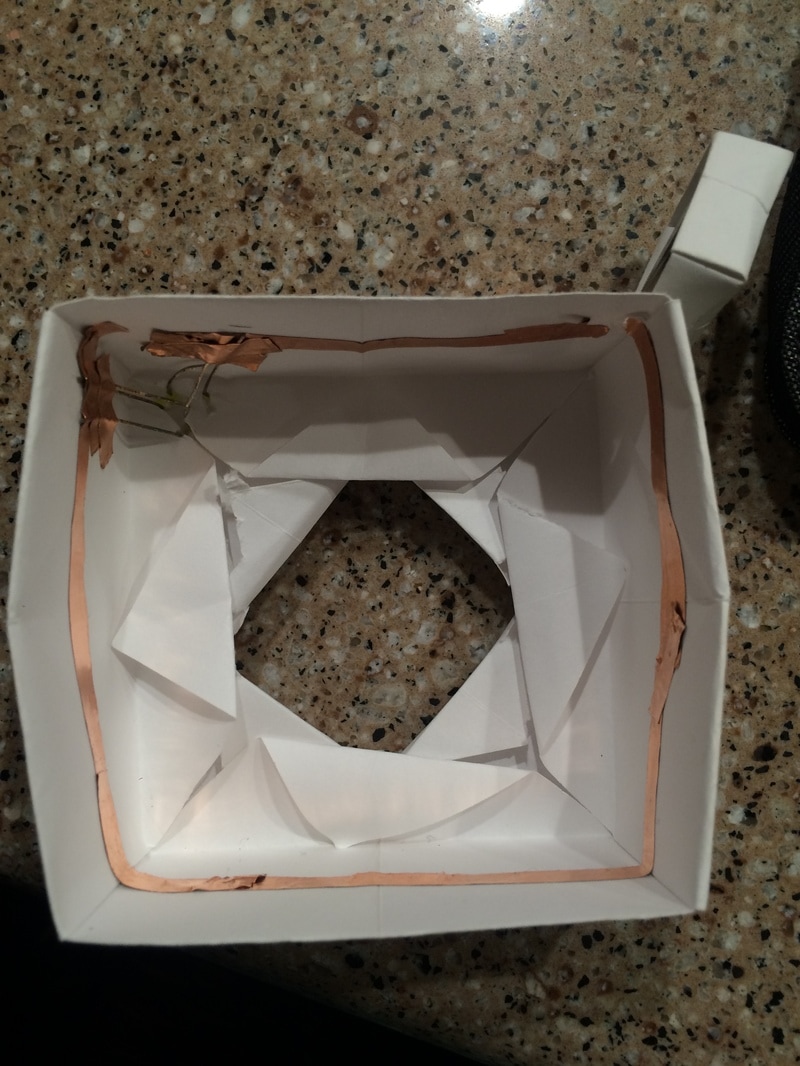
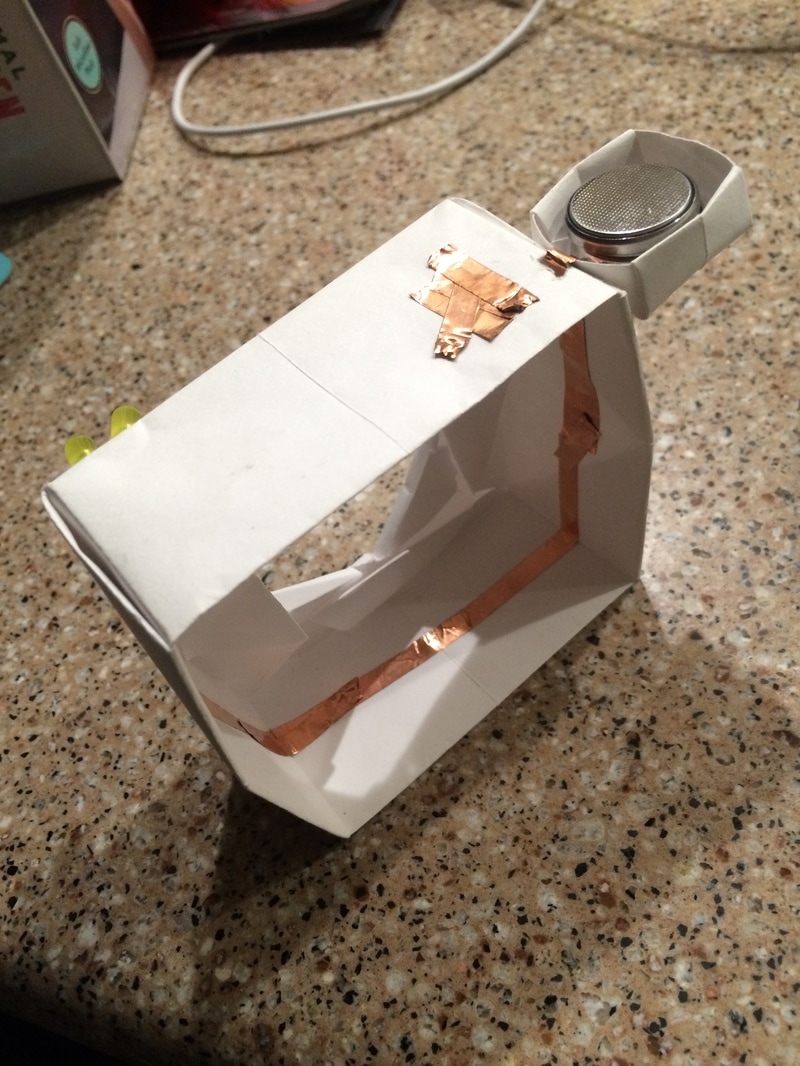
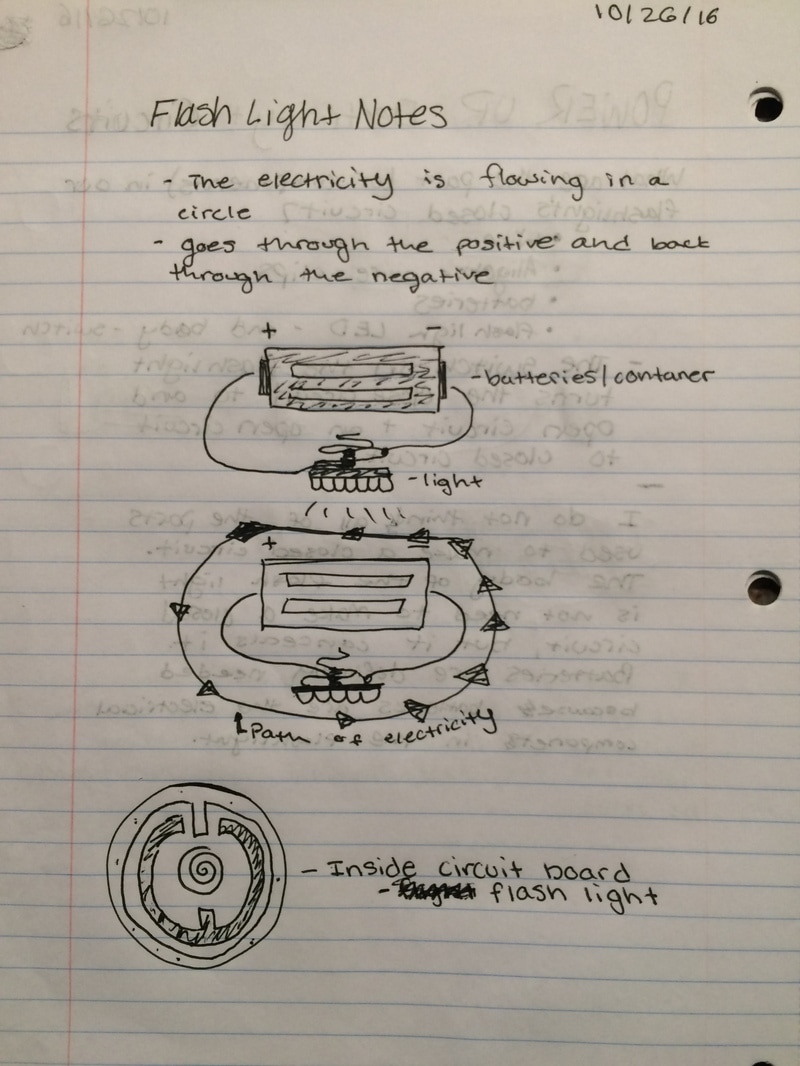
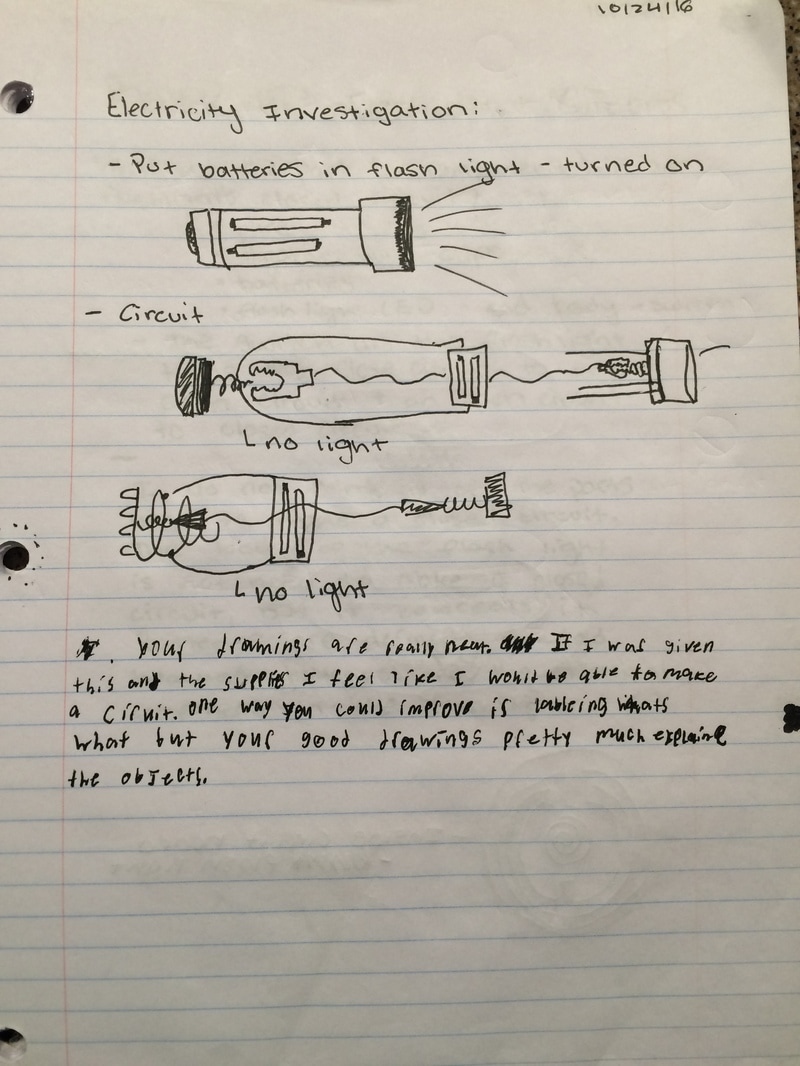
During the Electrical Circuits unit we listen to a lecture on circuit types and safety. Once we clearly understood circuits we put what we learned to use to make paper circuits. If you look at the picture above you will see the paper circuit that I made. For my paper circuit I teamed up with one of my peers to create a camera that flashed when you push a button. The materials we used for our paper circuits were paper, batteries, LED lights, and copper tape. As you can see in the picture above, of the inner workings, the copper tape connects to both the negative and positive strands of the LED and the battery thus creating a closed circuit. Once we finished are paper circuits we moved on to more complicated circuits. We had to take apart a LED flash light and use wires and a battery pack to connect all the components to light up the parts of the flash light. In the picture above there are drawings and notes of my ideas and experiments. This then lead into simple breadboarding which took part in Maths class. Overall in this project we learned about electrical circuits and the inner workings of electrical circuits.
|
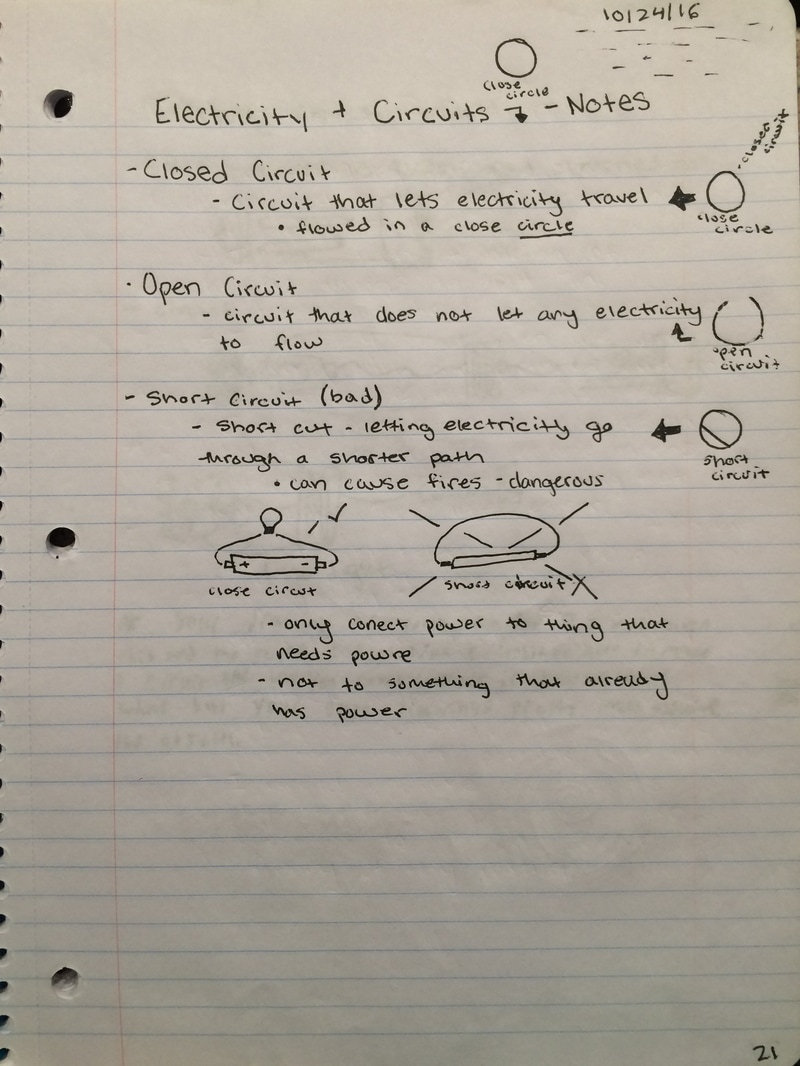
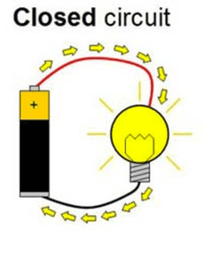
Closed Circuit:
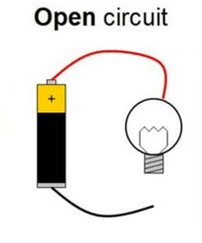
A closed circuit is a complete circle of traveling electrons. The electrons travel from the batery through the wires to the powered object then back to the batter, this flow is in constant repition. This is the only circuit that powers objects and has a full connection between all components. Open Circuit:
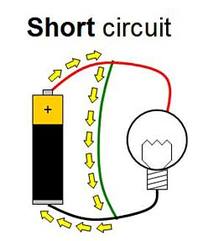
A open circuit is an incomplete figure of traveling electrons. This usally means there is a break in the connection. This will not power an object due to and incomplete flow of electrons. Short Circuit:
A short circuit is at circuit with a short cut. Usally connecting both sides of a batery. This can lead to potential danger due to the circuit overheating. An overheated circuit can lead to danger hazards such as fires. |
